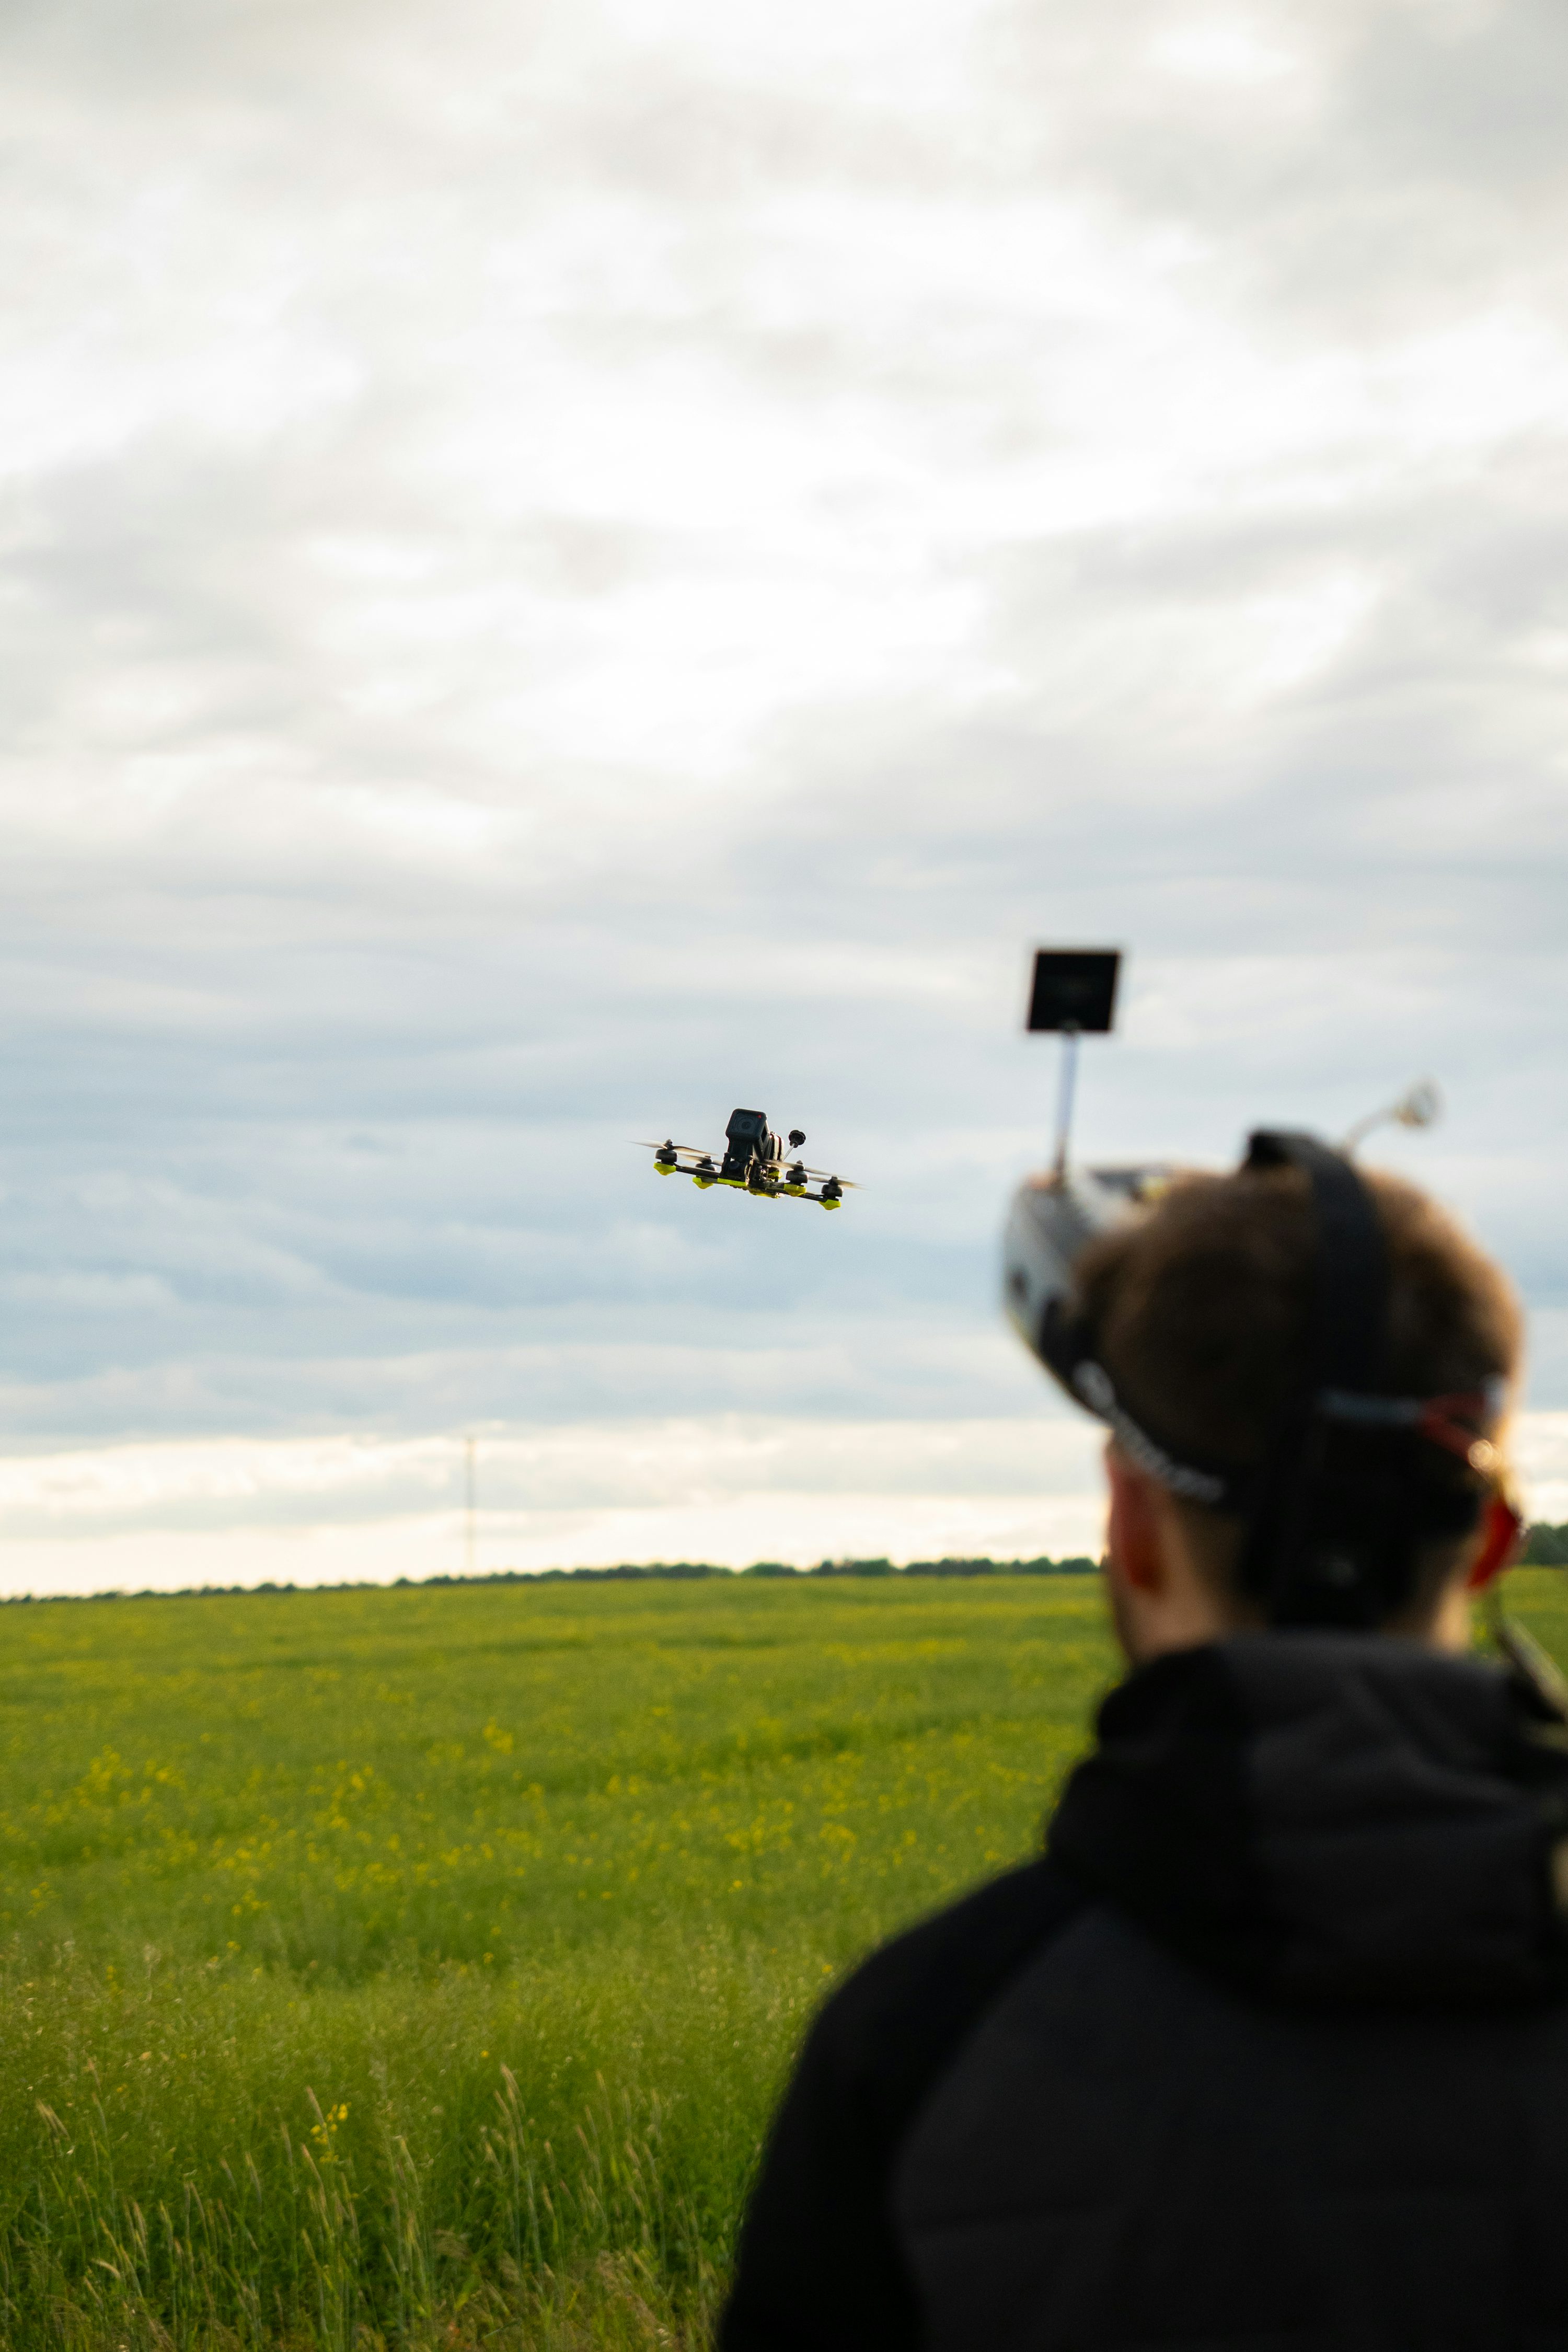
Where to start with a first FPV build
A 5-inch quad is the most practical starting point for outdoor freestyle. It has a broad choice of frames, motors, props and spare parts. For indoor flying or short practice sessions, consider a micro whoop instead.
The most expensive part is not necessarily the right part. Motor, propeller, ESC, battery and frame must work as a system. Use the FPV Builder to check the obvious electrical and size mismatches before ordering.
The essential FPV drone components
Frame
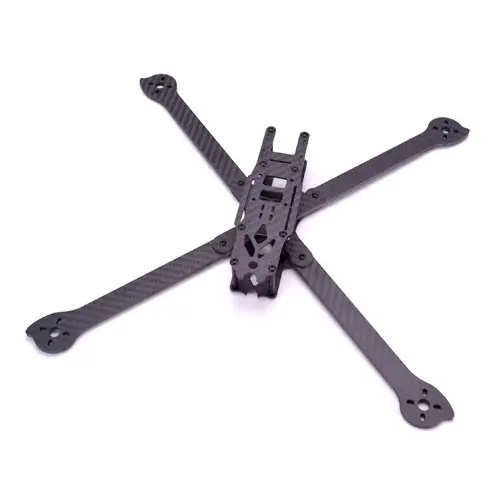
The carbon structure sets propeller clearance, electronics mounting, camera space and battery placement. A typical 5-inch frame uses a 30x30 mm or 20x20 mm electronics stack.
Flight controller
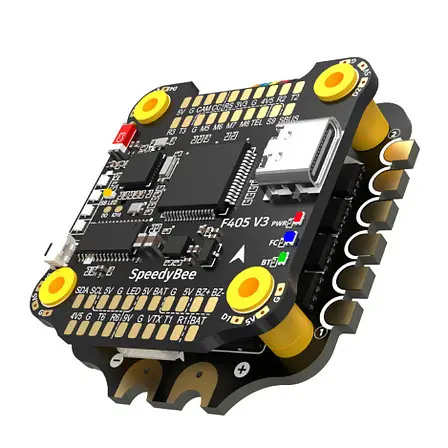
The FC reads the gyro and receiver, then sends commands to the ESC. Check the mounting pattern, UART count, power rails and firmware support.
ESC
A 4-in-1 ESC controls the motors. Its voltage rating must support the battery, while the current rating needs headroom over the motor and propeller load.
Motors and props
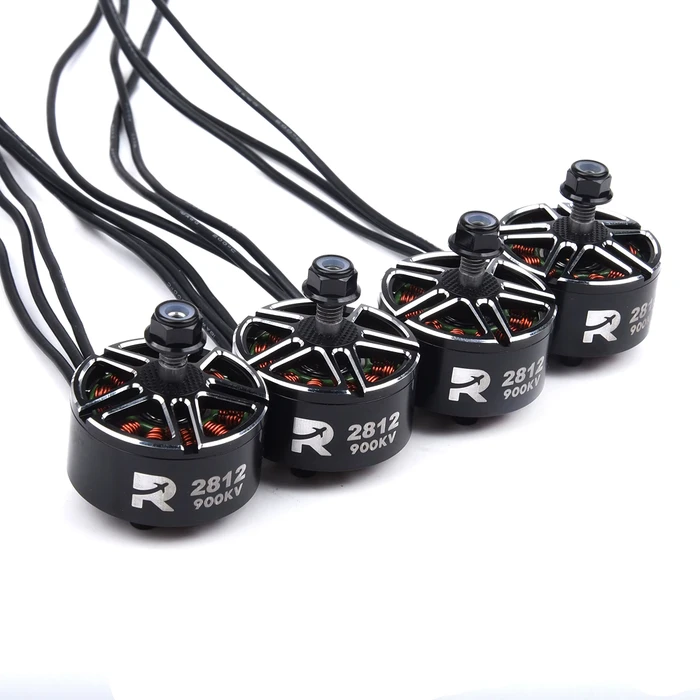
Use four identical motors. For a 5-inch 6S build, 2207 or 2306 motors around 1750-1950KV are common. Props must fit both the frame and the motor load.
Battery
A 4S or 6S LiPo must match the ESC voltage range and motor KV. Capacity changes flight time and weight, so larger is not always better.
Video and radio
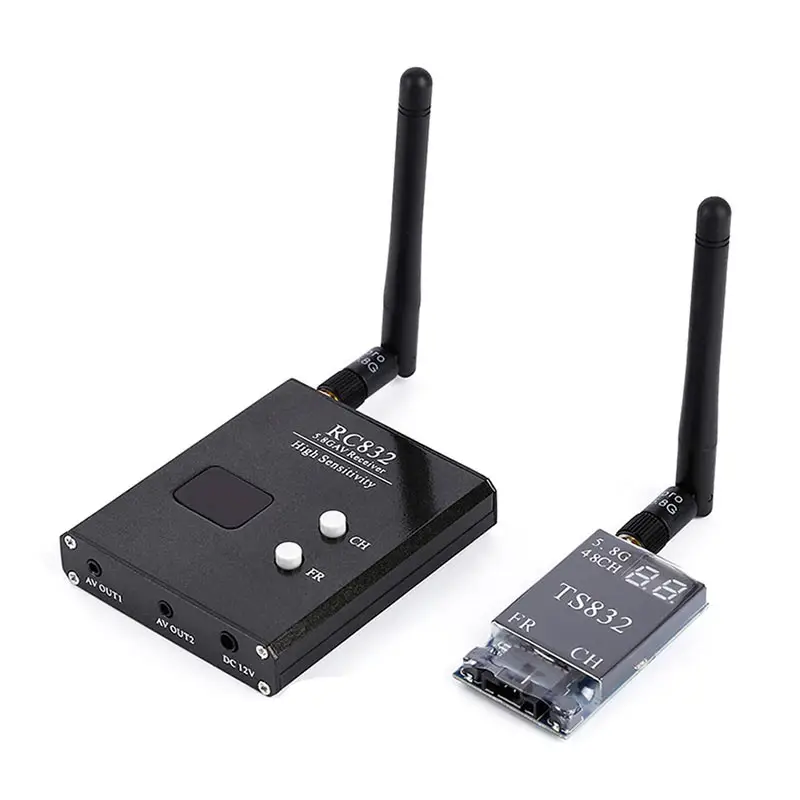
Your camera and VTX deliver the image to goggles. The receiver and radio link must use a compatible protocol and frequency; ExpressLRS is common for new builds.
Tools and consumables
A reliable soldering iron, solder, flux, a multimeter, hex drivers, heat shrink and silicone wire are the core tools. A smoke stopper is strongly recommended for the first battery connection.
Safe assembly order
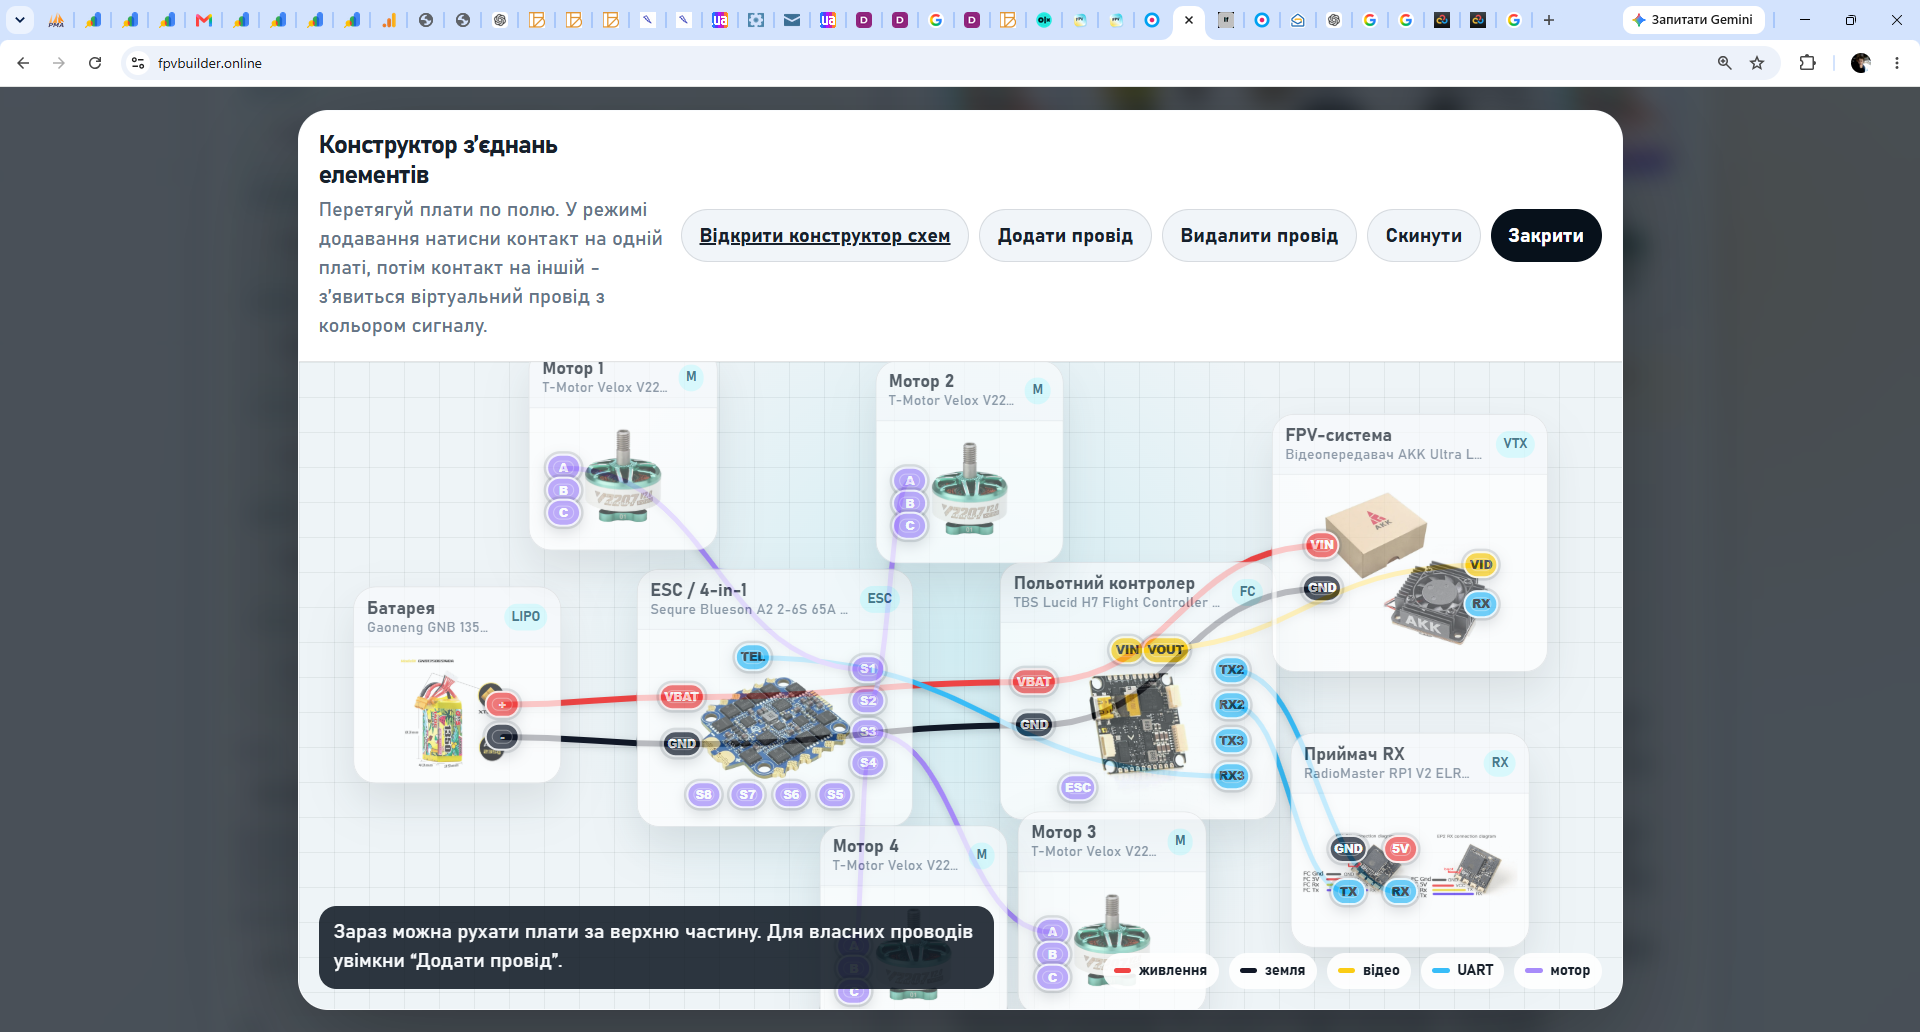
- Build the frame and install motors. Confirm motor screws do not touch the stator windings.
- Install the ESC and solder the battery lead. Add the supplied low-ESR capacitor where required.
- Solder motors and mount the FC. Use the correct soft mounts and make sure no board touches carbon or screws.
- Connect receiver, camera and VTX. Cross TX and RX for UART connections and use only the correct power rail.
- Check for shorts with a multimeter. Do this before connecting a battery.
First Betaflight setup
Connect through USB with props removed. Verify board orientation, configure receiver and VTX ports, select the receiver protocol, assign an ARM switch, then test channel movement. Check motor order and direction only without props.
Ports
Enable Serial RX on the UART actually wired to your receiver. Configure VTX control on its proper UART.
Receiver
For ELRS CRSF, select a serial-based receiver and CRSF, then verify channel order and movement.
Motors
Test order and direction without propellers, using a smoke stopper for battery-powered checks.
First power-up checklist
- Propellers are removed for all computer-based setup.
- There is no short between positive and negative battery pads.
- The first battery connection uses a smoke stopper.
- The model moves in the correct direction in Betaflight.
- Receiver channels, ARM switch and failsafe are configured.
- Motor order and direction are correct before installing props.